Quickstart
Installation
NmrQuant requires Python 3.8 or higher. If you do not have a Python environment configured on your computer, we recommend that you follow the instructions from Anaconda. Then, open a terminal (e.g. run Anaconda Prompt if you have Anaconda installed) and type :
pip install nmrquant
Next, jupyter notebook (JN) needs to be installed. You can find documentation on how to install JN on their website. It is also possible to install JN through Anaconda (see Environments for best practices). Finally, the notebook file containing the gui interface can be found on the GitHub page.
Environment installation
One of the advantages of the Anaconda Suite is that it gives access to a user-friendly GUI for the creation and maintenance of python environments. Python environments give the user a way to separate different installations of tools so that different package dependencies do not overlap with each other. This is especially useful if packages share the same dependencies but in different versions. The Anaconda Suite provides a quick and intuitive way of separating these installations.
How to create an environment in Anaconda
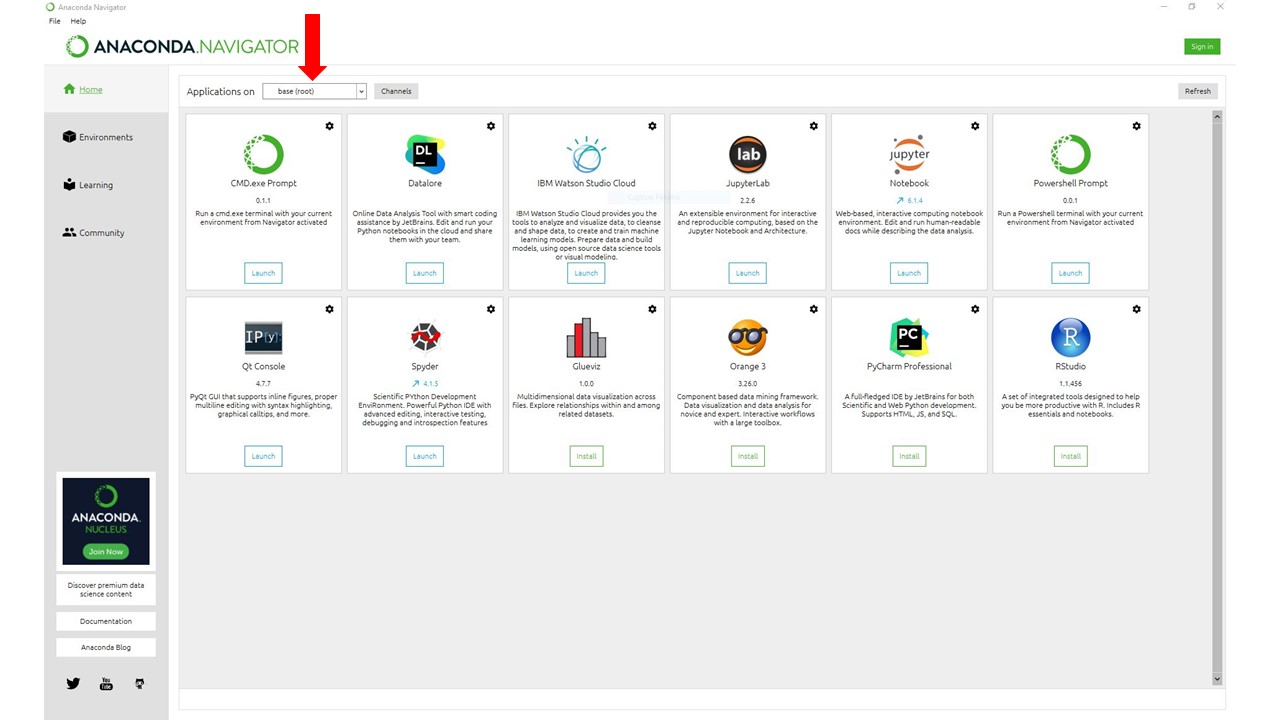
When the user opens up the Anaconda software, she/he ends up on the main menu:
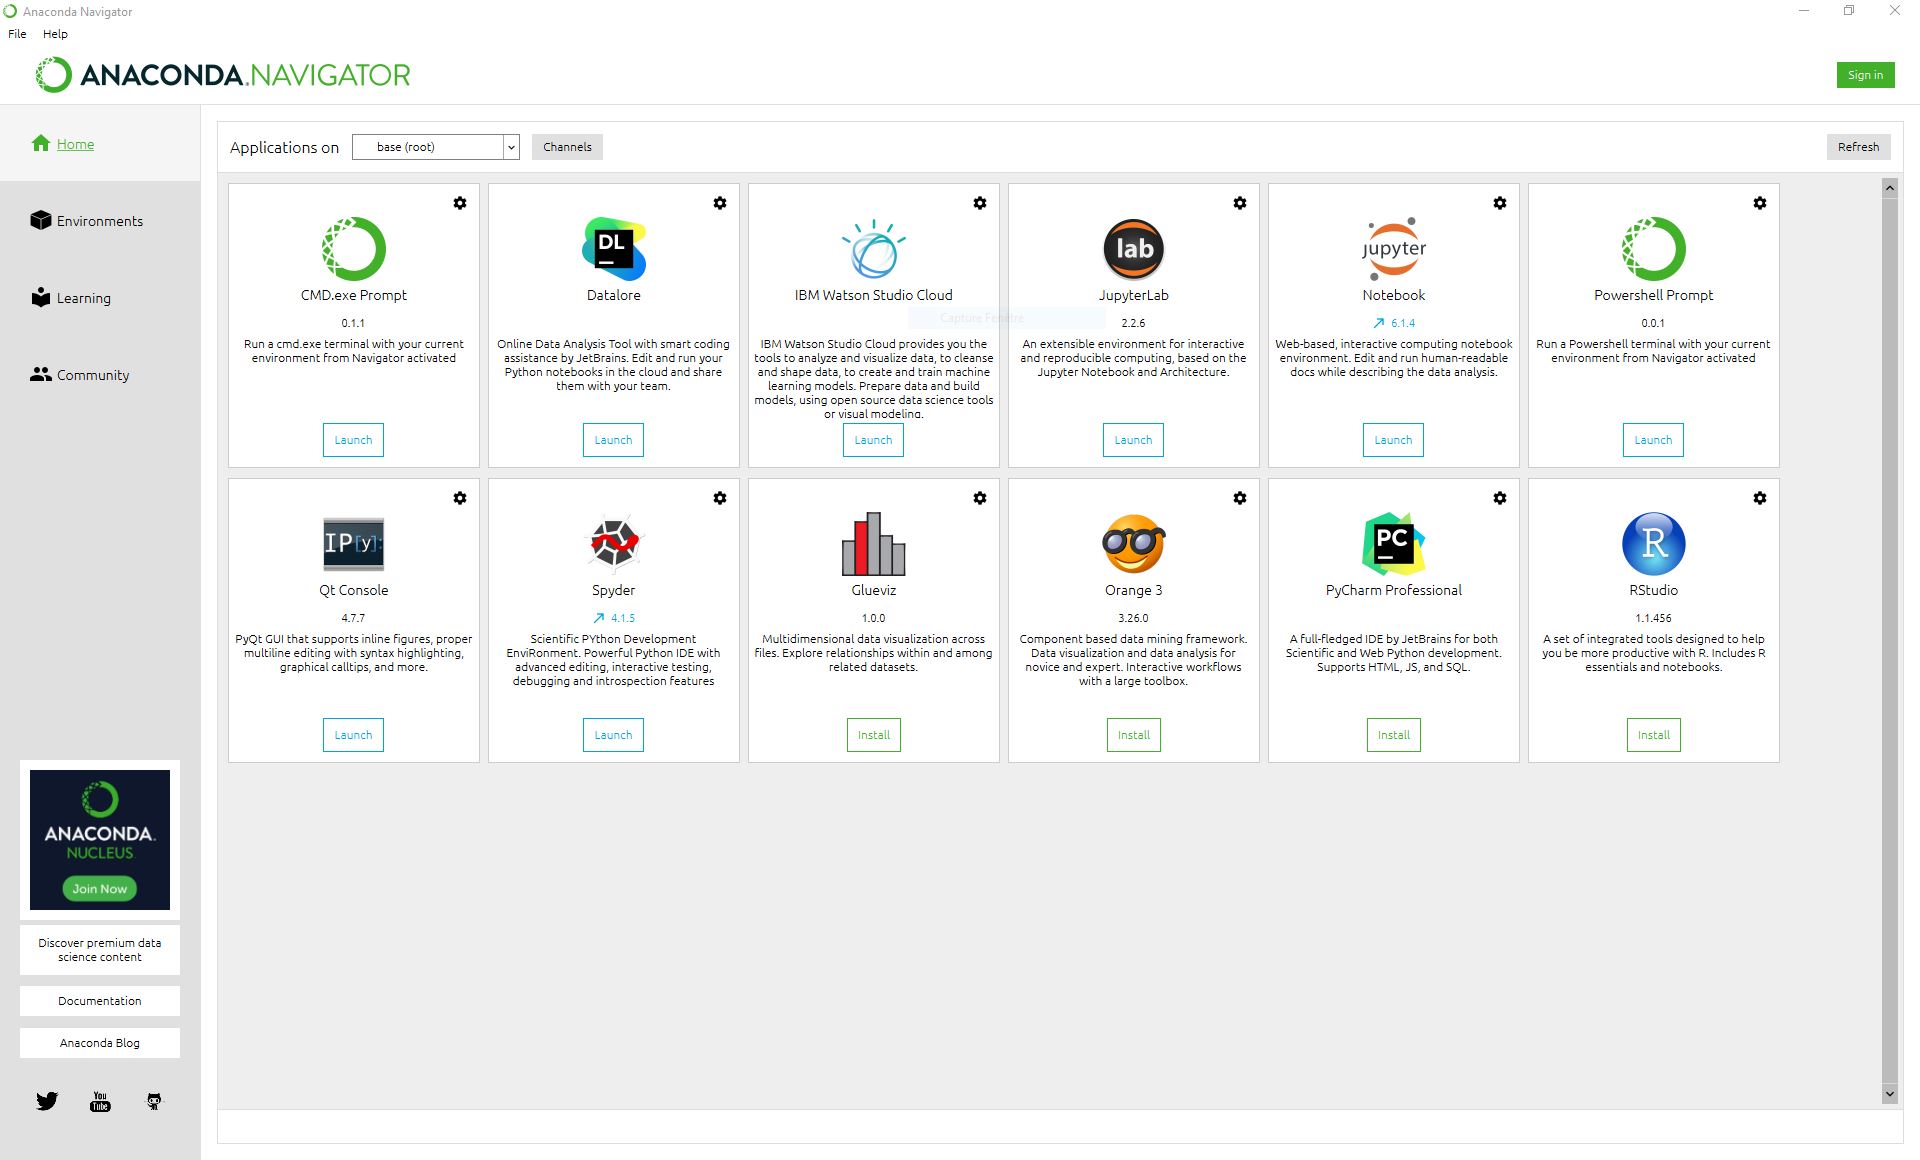
The main window shows all the tools available for installation in the Navigator. To get to the environments page, the user must click on the “Environments” panel that is in the left-side menu.
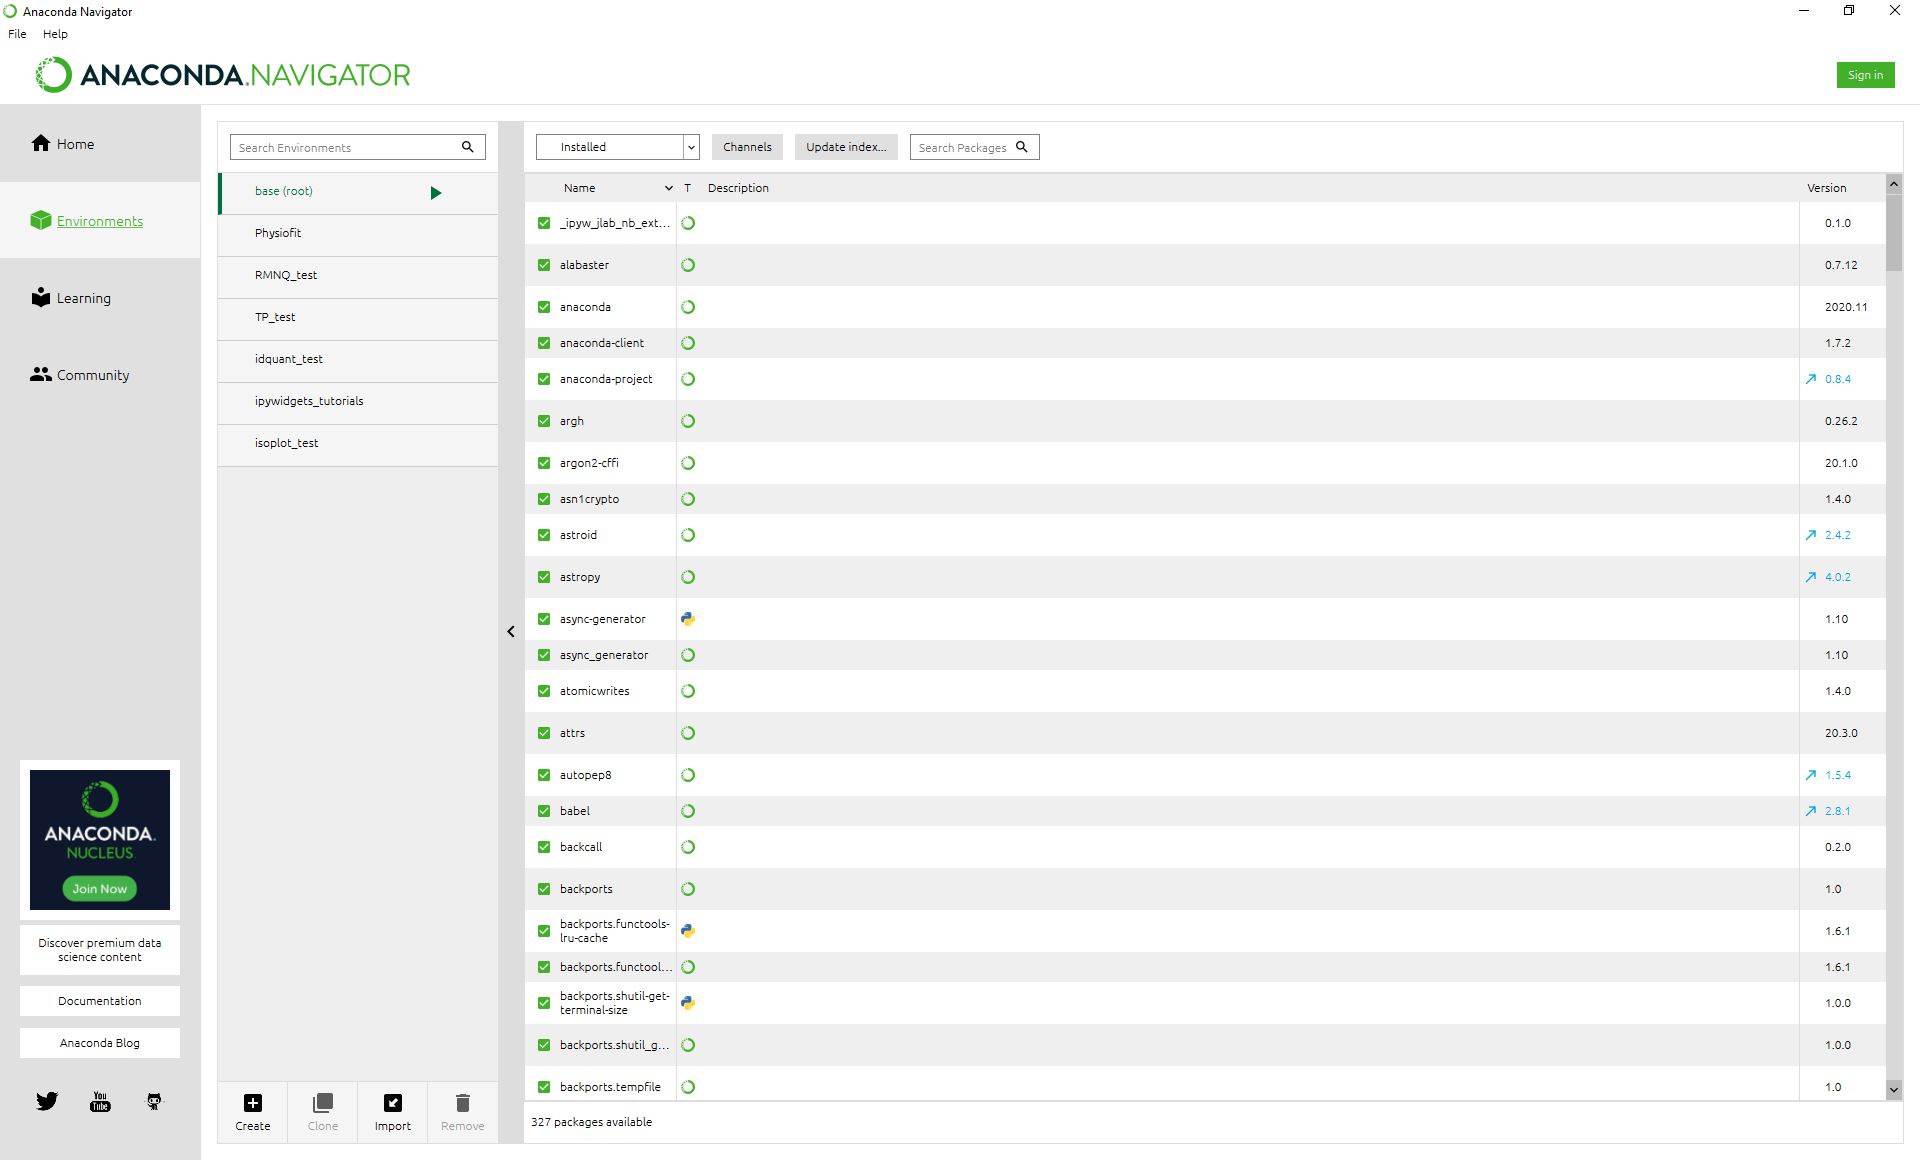
Once on the Environments page, the user can click on the “create” button that is present at the bottom left of the screen. A pop up menu will then appear and allow the user to select a python version and a name for the environment.
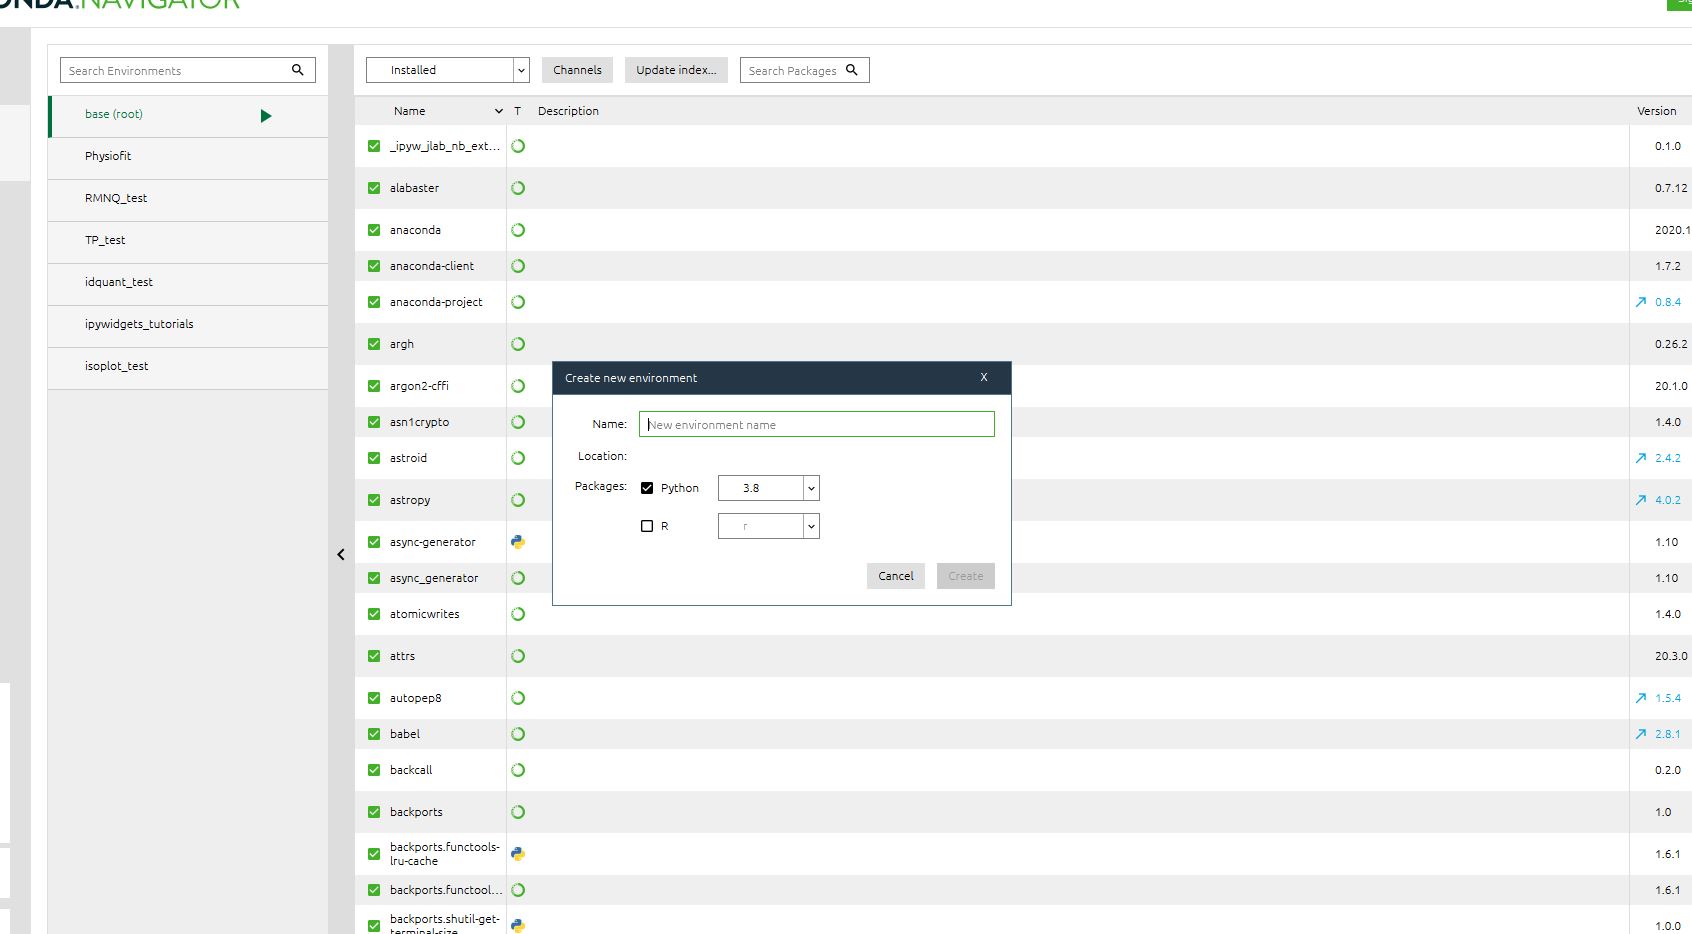
Once the user clicks on the “create” button the environment is created and ready for use!
Installing packages in the environment
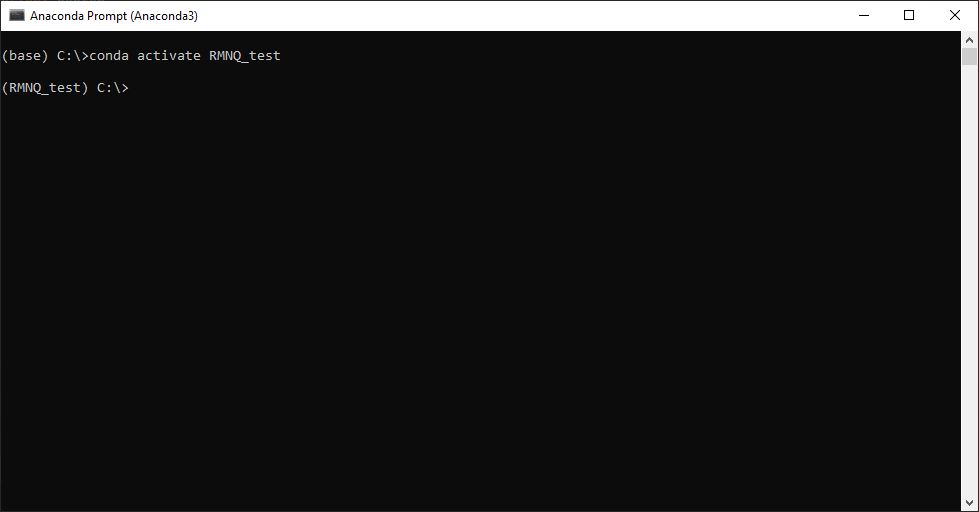
Now that the environment exists, it is time to populate it with the tools needed. The first thing to do is to open up a command-line interface, preferably Anaconda Prompt (it is the one that will be used in this tutorial. Other command-line interfaces might use different names for commands). Once the interface is open, the first thing to do is to activate the desired environment. The command for this is as follows:
conda activate <name-of-environment>
Once this is done the environment name should be seen on the left of the screen behind the name of the directory the interface is open in.
Once the environment is activated, the user can install using pip or conda any of the desired tools. The dependencies and the tool itself will now be installed in a safe and separate set of folders which will ensure that other installations are not affected by anything happening in the environment. Once the user is done, she/he can now close the prompt.
Installing and launching Jupyter Notebooks through the Navigator
There are two ways of installing Jupyter Notebook (JN): through the command-line or through the Anaconda Navigator. We will here explain the way to do it the second way.
First, the user must open the Anaconda Navigator. Once on the main page, the first thing to do is to select the desired environment of installation of JN by clicking on the dropdown menu shown below and selecting the environment.
Once the environment is selected, the user can search for JN in the main page and click the install button underneath. Once JN is installed, the last step is to launch the application.